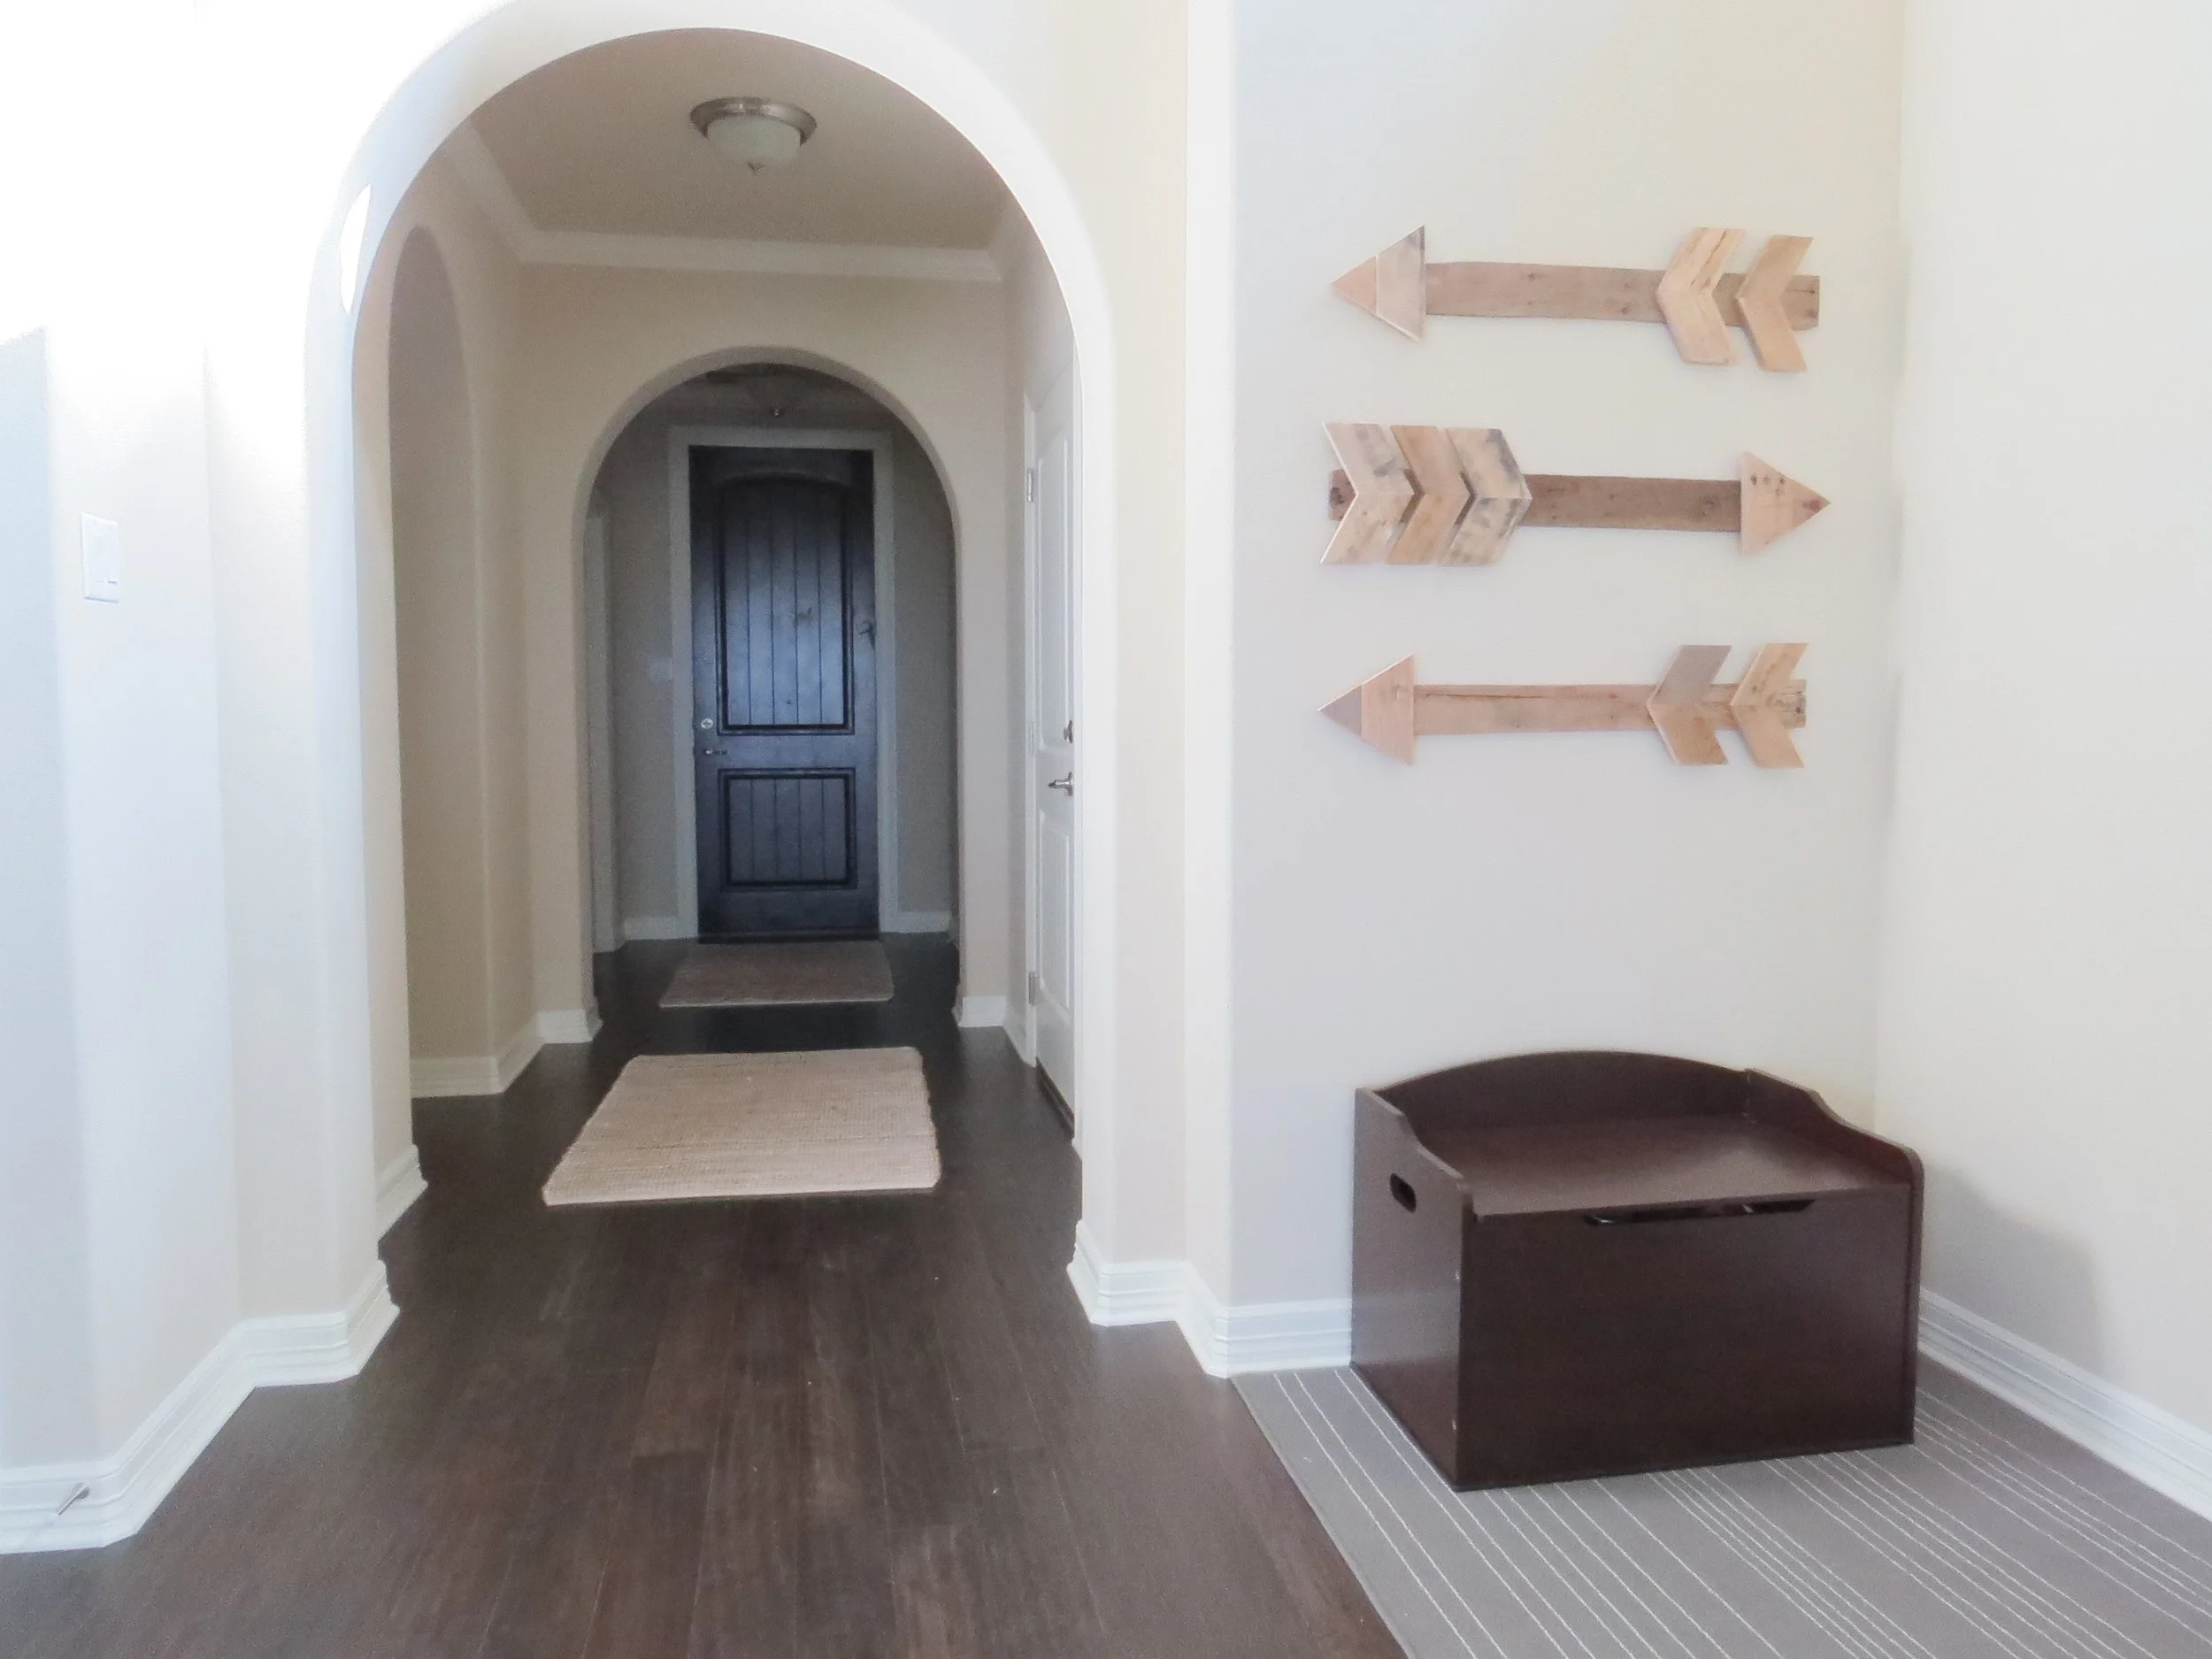
How to Hang Wall Art : part one
/It's always fun to get new art up on your walls, but sometimes it can be a really intimidating task especially when you are hanging several items together. I figured it was finally time that I took the plunge and start hanging somethings on our bare walls. We have a nice open living area that encompasses our kitchen, breakfast room, family room and a small play area for our daughter.
I made these arrows awhile back out of pallet wood and I thought they would be perfect for one of the walls in my daughters play area. They each have two sawtooth hangers on the back to keep them straight and level when hanging but this makes them tricky to get them all hung evenly spaced. Below I will share with you the method I use to get these hung evenly, straight and with as few nail holes as possible!
Lets get started!
What you'll need:
A piece of paper large enough that all of your pieces fit onto
Level
Tape Measure
Hammer
Appropriate nails (I use the smallest possible that will still hold the weight)
Painters tape
Pencil
Marker
1. Lay your large piece of paper on the floor, I taped mine to the floor so that it would stay nice and flat. I always keep a roll of packing/craft paper on hand for these things, but you could also use the backside of wrapping paper.
2. Lay your items face down on the paper in the placement that you want them on the wall.
3. Use your tape measure to make sure that the items are all evenly spaced. I spaced my arrows so that the center pieces were each 10.5" each other.
4. Use your marker to draw along the top edge of each item. Be careful not to mark on your item as you do so. Also, be careful of what type of marker you use, you don't want it to bleed through the paper and ruin your work surface.
5. Mark with an arrow where the center of each nail hanger is. In this case because of the arrow "wings" I couldn't place my marker for where the nail went along the line that I drew on the top edge so I put one directly above where it would go.
6. Remove your items making sure that you know which order they go in. Since I couldn't make my line along the whole top of my arrows because of the "wings" of the arrows I used the straight edge of my level to fill in the empty spaces by lining it up with the lines already drawn.
7. In the places where I couldn't put the arrows to mark where the nail would need to go and I had to mark it above I took my level and drew a straight line down to the top edge line. Now I would know where the nail would need to be placed along the top edge line.
8. Place your paper on the wall where you want your items to hang. Find the height that you want your arrangement to hang and hang your paper onto the wall using painters tape. Gently press the tape to the wall so that you can make adjustments to your paper. Something to consider is how far down from the top edge of your items the hangers are. Mine are only about a 1/2" down from the top edge so I took this into consideration when determining the height. Once on the wall the top edge of my arrows will actually be a 1/2" above the line I initially drew since my nails will go into my
Tip : When decided what height to hang your arrangement at the general rule of thumb is that the center should be at eye level. The average person has an eye level of 5'6".
9. I want my arrows to be centered on the wall so I found the center of my arrows and mark the center line all the way to the top of my paper. Then I found the center of my wall and adjusted the paper so that the two lines lined up. If you aren't needing your arrangement to be exactly centered on you wall then you could just eyeball where you want it to go on the wall.
10. Use your level and hold it against one of the top edge lines and adjust the paper until the lines are level. Once you are happy with the placement and it is level press on the painters tape securing it to the wall.
11. Step back and make sure that you are happy with the placement before you start hammering in those nails.
12. Hammer one nail into the wall through the paper at each spot that you marked. I like to use the smallest nail possible so that I'm not left with big holes in the wall when I'm ready to take things down and rearrange. Finish nails work great for most items. They don't have much of a head on them so always hammer your nails in a slight angle, this will ensure that the hanger won't slip off of it. Leave enough nail exposed that you can get your hanger onto it.
13. Once all of the nails have been hammered in remove the paper gently lifting the painters tape. Pull the paper away from the nails, it's ok if you tear it taking it down since it can go into the recycle bin now.
14. Now hang each piece onto its nails making sure that you have them in the right order!
Now Stand back and give yourself a pat on the back for getting it hung fast, straight and with no extra holes in your wall!


